So you installed Photo King on your iPhone, congratulations!
Photo King for iOS is a very powerful photo editing software, but don’t let that intimidate you.
Even if you don’t have time to learn advanced photo editing, Photo King can still be a very useful and handy tool for quick photo modifications.
It is my hope that these few examples will help to solve those small, quick modifications that you may need to apply to your photos.
Hopefully this will lead to learning even more powerful capabilities that Photo King is capable of as well.
2. Main view
Yes, It's simple.
Photo thumbnails from your photo album. Sorted by creation date.
Your can take photo or load photos from iOS photo library.
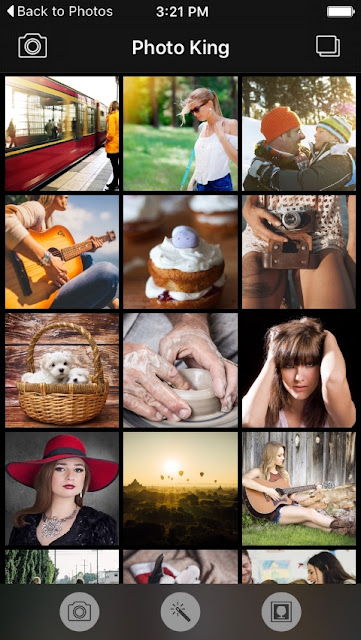
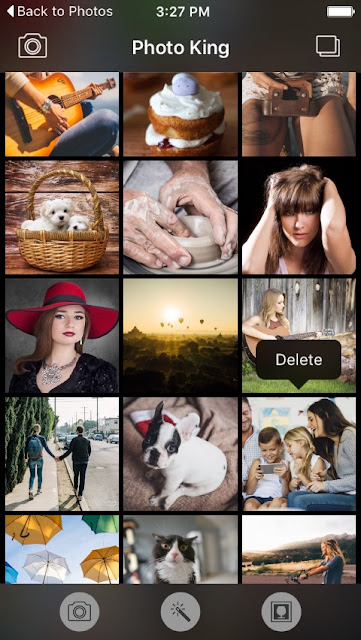
Press photo and hold shows "Delete" menu.
It will delete photo from album.
(Deleted photos are store for about 29 days in your "Recently Deleted Album".)
2. Edit
Tap each photo will lead you to the edit page.
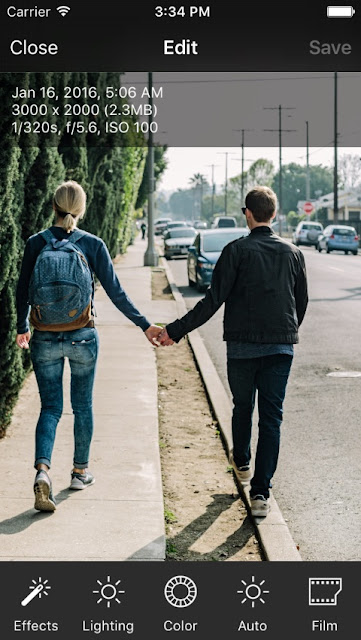
The information panel will shows up when you start editing.
It's about creation date (picture taking time or photo importing time), photo resolution, file size and Exif info (if available).
We also shows location names if GPS information is available in the photo.
Now, you can see many tool icons on the bottom toolbar.
2-1. Effect
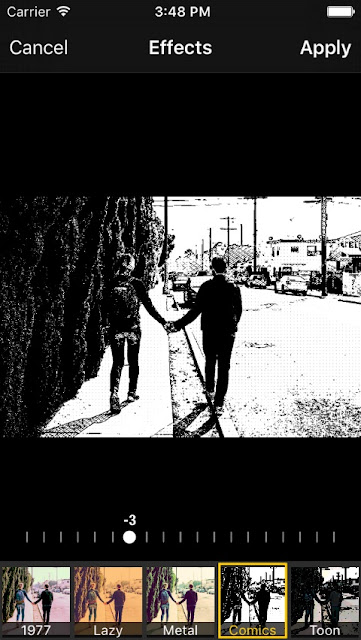
"Effect" is general photo filters for easily change the feeling of photo.
I do not use them much. But some peoples like to quickly modify their photos.
"Comics" filter is my favorite.
However, I recommend to use general (slight) filters like "Bleach", "Chrome", "Warm" and "Natural" etc.
You can change the filter intensity (strength) by dragging slide bar.
These slide bars specially designed for snapping exact values for confidence.
(Some users want to specify exact value not just alike values.)
2-2. Lighting
The Lighting tool is about exposure, contrast, highlight, shadow.
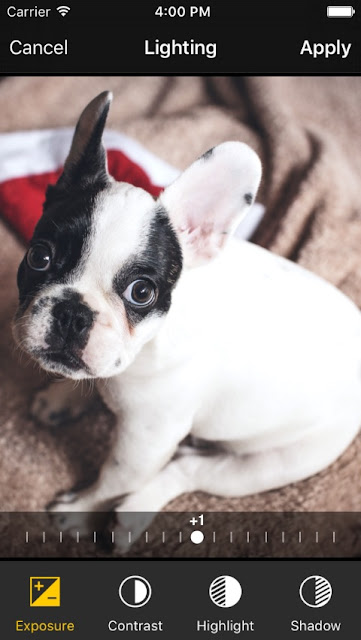
Just change 1 or 2 steps of exposure make your photo a lot better.
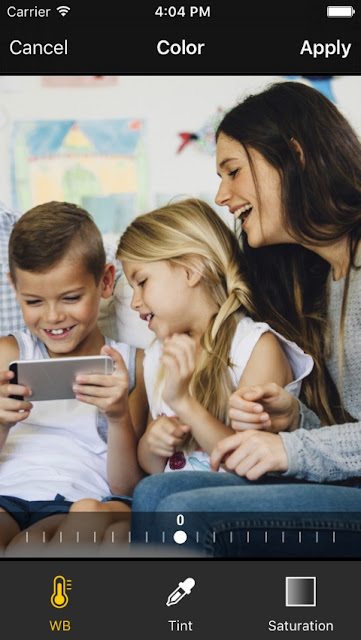
2-3. Color
Adjust white balance of photo, tint will change whole color direction of the photo.
Changing saturation values makes more colorful or un-colorful photos.
2-4. Auto (Adjust)
This tool is still in developing stage (version 1.2).
"Auto" tool will analyze your photo and will suggest best optimization...
2-5. Film
It emulates famous analog color and BW films.
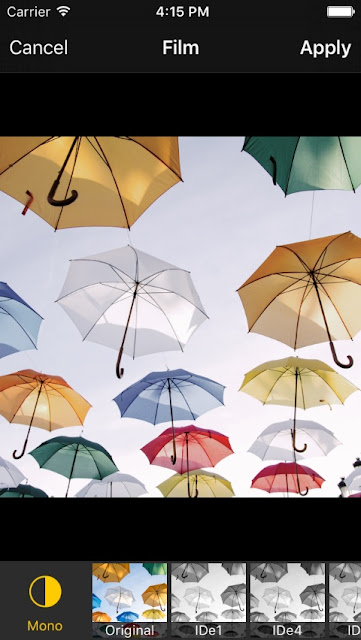
Also provide "Vignette" and "Film Grain" functions.
2-6. Draw
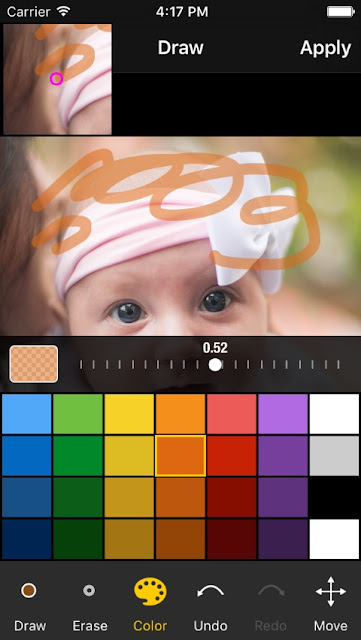
Select pen color and width, draw anything on photo.
The magnifying view will appear when you start touch the screen to show you exact touch positions and pen (brush) width.
The colorpallet has swatch colors, full color spectrum and transparent adjusting slider.
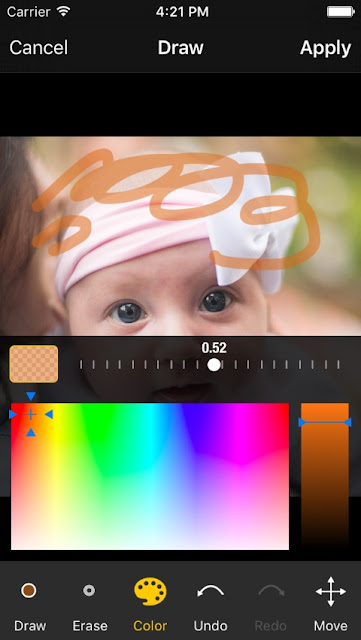
Basically it starts with 'drawing mode' you will need 'move' button for change the area or scale of the drawing canvas.
No doubt, 'undo' and 'redo' functions are essential.
2-7. Text
Texting on photos will always ruin the pictures.
We emphasis professional text resolution quality.
To change text alignment, font, font size, text color, line height, character spacing, shadow width, color, outline width, outline color and background color .... We have to combine all features in custom keyboard UI.
2-8. Stickers
I personally hate cheap stickers in all those apps. (But we had to include some.. )
The sticker tool is about simple image overlay.
Transparency and shadow length can be adjusted for each sticker.
I recommend to use "Clip" or "Eraser" tool to make personal transparent photo for overlaying.
2-9. PiP
The PiP makes any photo into nice picture in picture frame.
Users can change theme (frame), foreground (filters) and background (blur filters).
End of quick manual #1.


